Plans vs life

2017 planner gone wrong

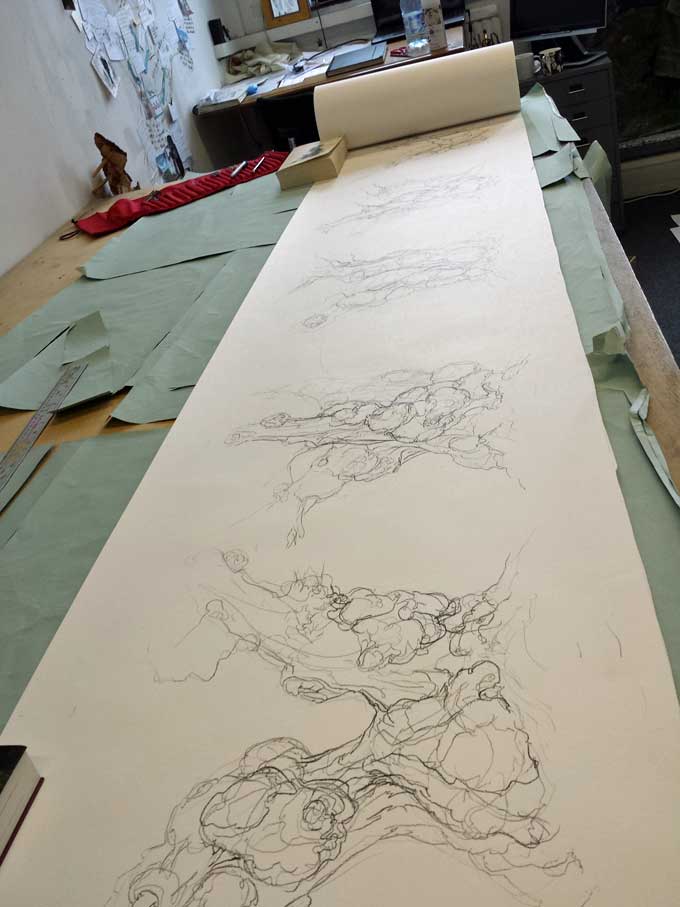
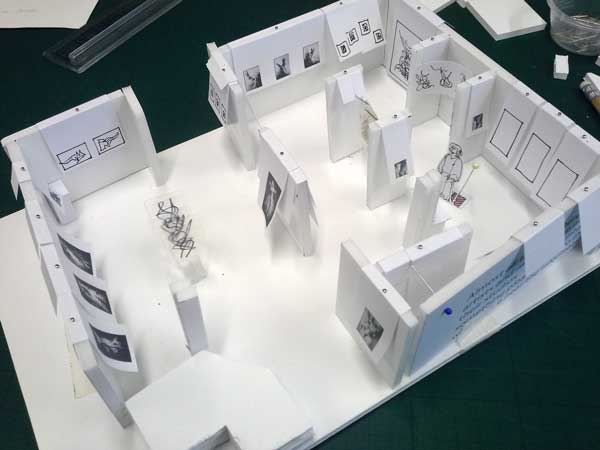
Exhibitions take lots of time to plan, many months of work to make, publicity is written way ahead of opening, it’s all on a schedule. My current exhibition was over two years in the planning. Residencies also take time to organise and represent a great opportunity to take new directions. I love planning – I love thinking about the future, imagining what could happen and plotting out what shape that might take.

My studio year planner gives some much-needed structure to an essentially open ended creative process.  But it doesn’t matter where you put the coloured dots or how you block in the days you expect to be productive or when you confidently predict an outcome, because sometimes life chucks stuff in the way of your plans, pushes you off your expected course or gets you stuck in a place you don’t want to be.

It’s easy to regard this as a failure – you didn’t do what you said you would, you didn’t follow through on your intentions. You have nothing to show for your time.

However, if what artists do is make in response to their experience of the world, then we should perhaps view it as an opportunity when unexpected events trip us up, rather than a problem. These new experiences are the raw materials for new work, new ways of thinking and responding. Change can be painful as well as positive though and old familiar ways are hard to let go of.

So that’s where I am right now. I’ve been tripped up. I’m not where I planned to be. Life has chucked some difficult stuff in my way but the good news is that I’m an artist so I can use it. Not really sure how yet but I know that’s what needs to happen next.

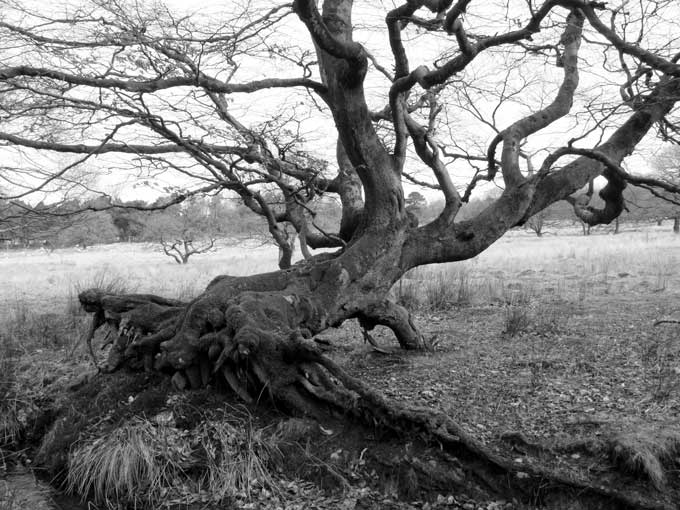
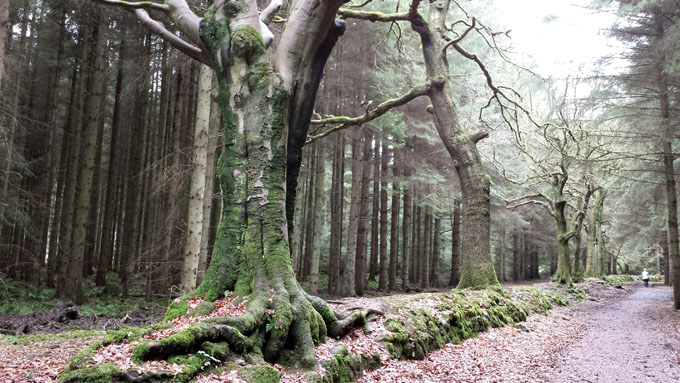
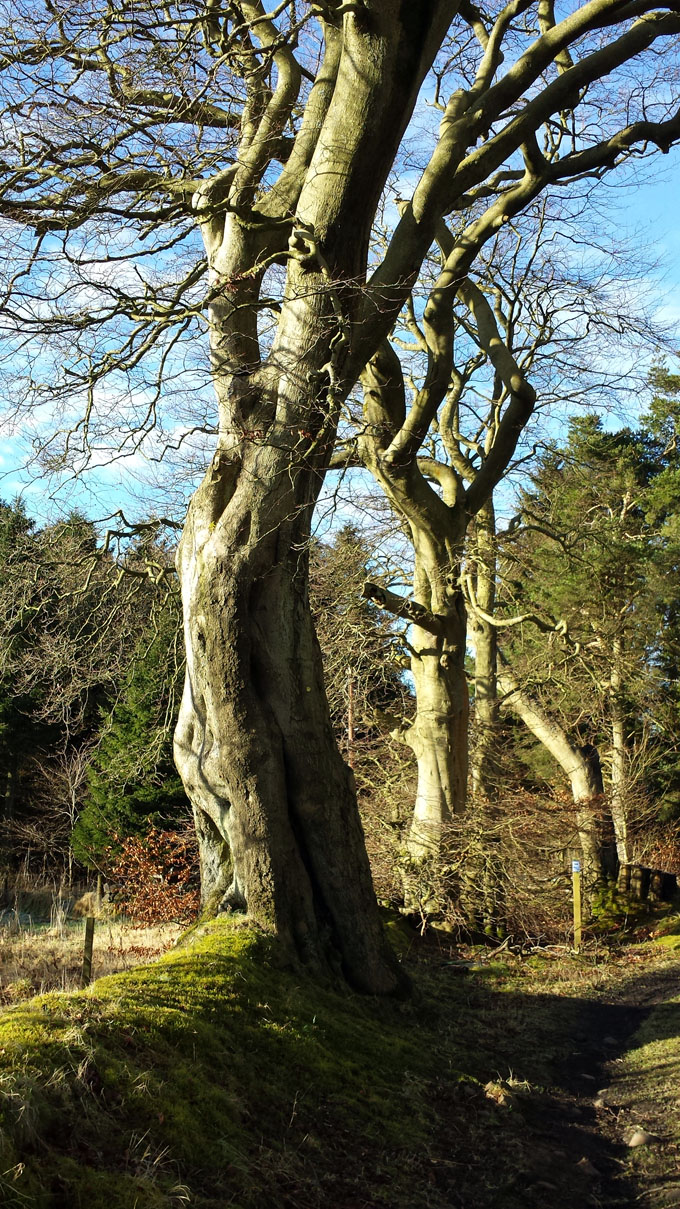
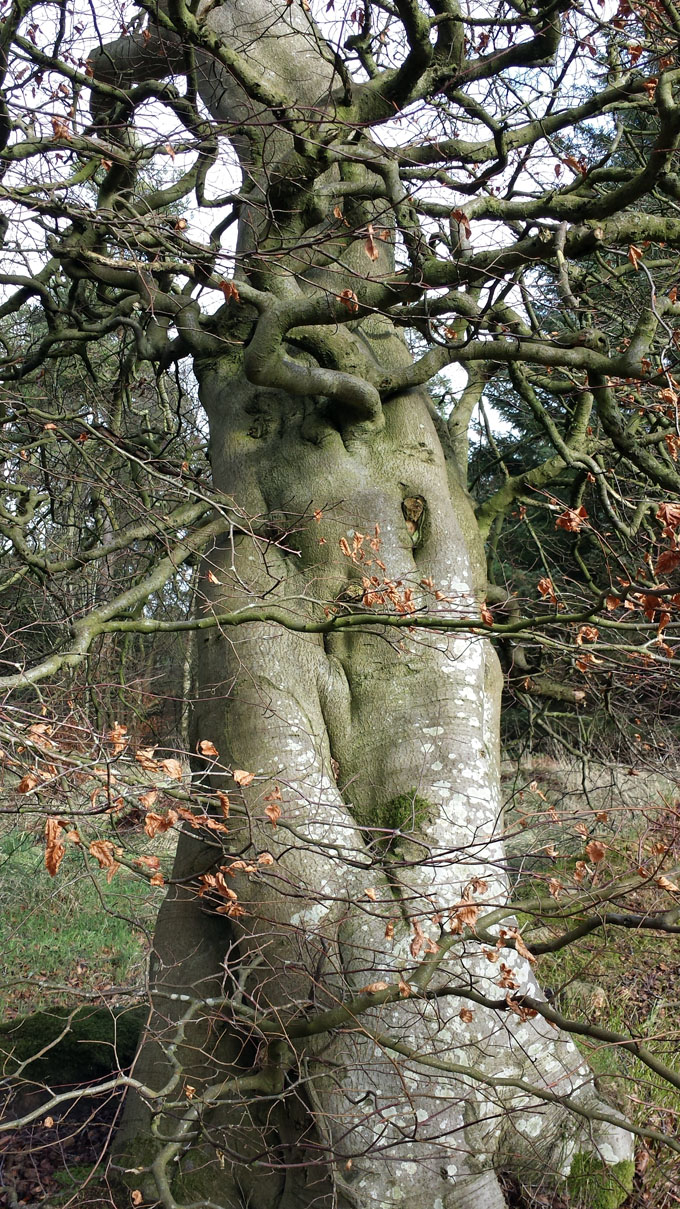
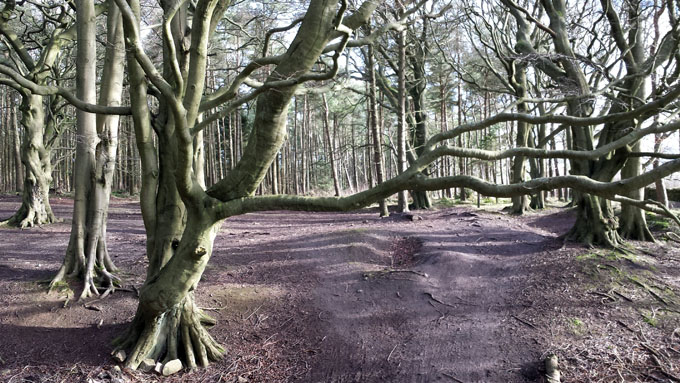
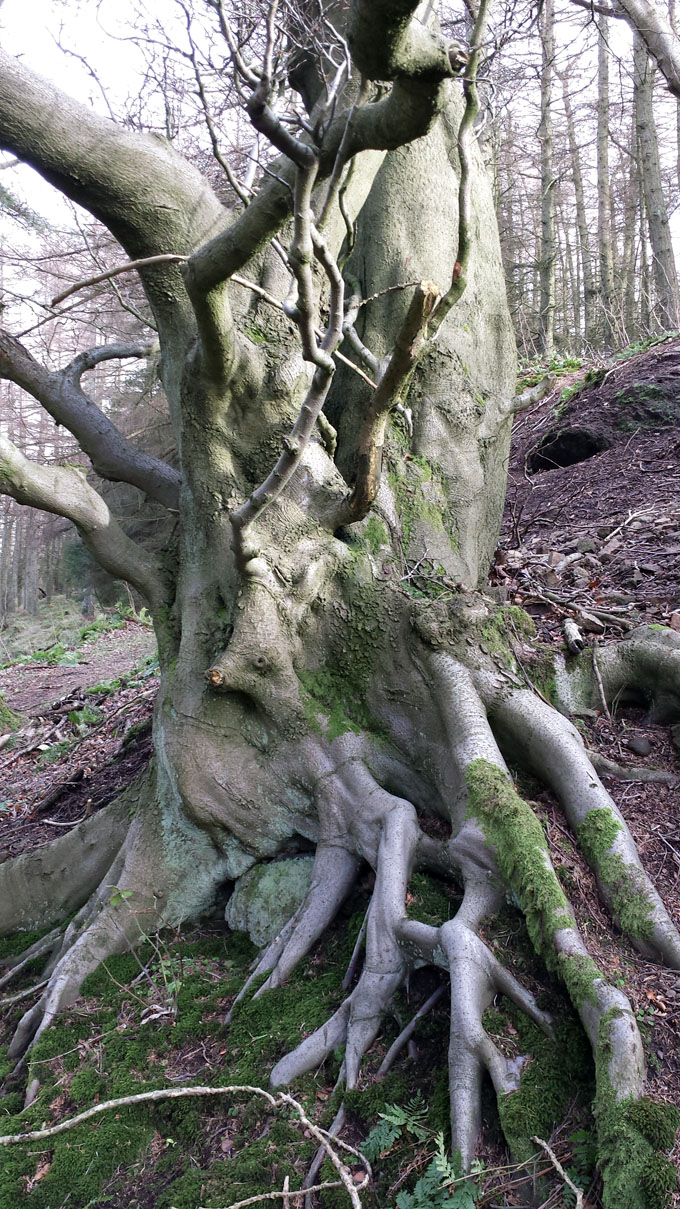
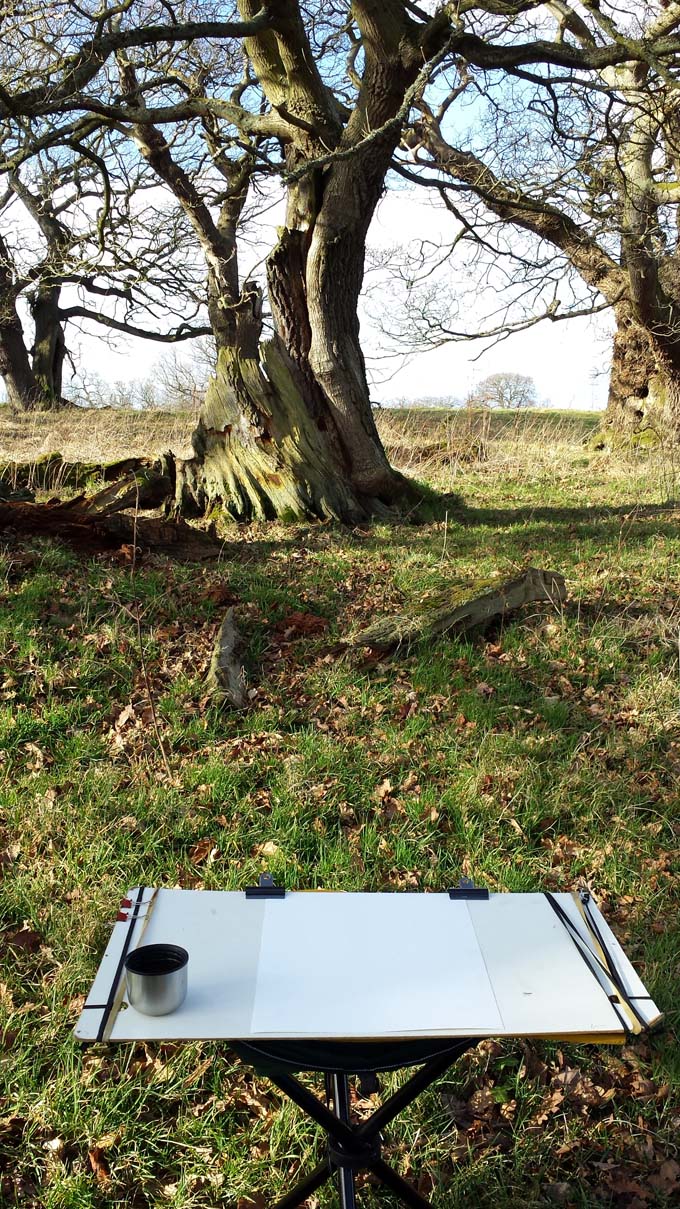
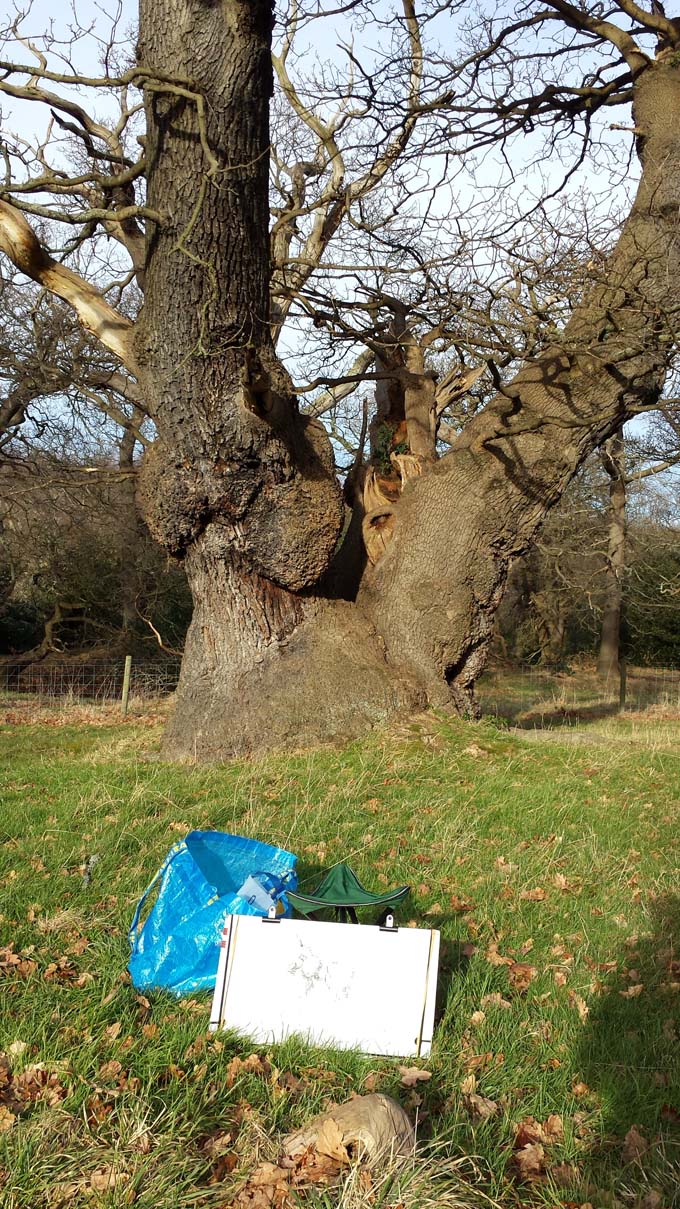
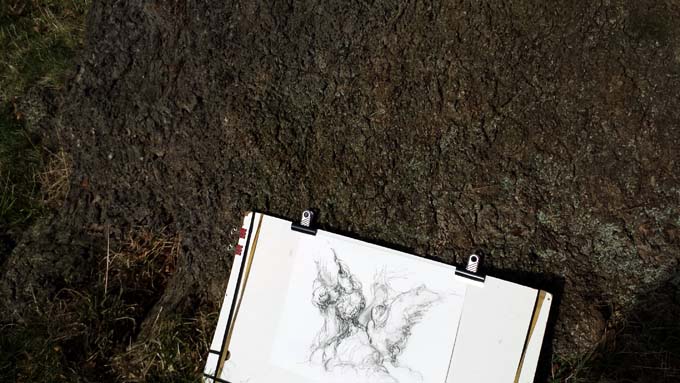
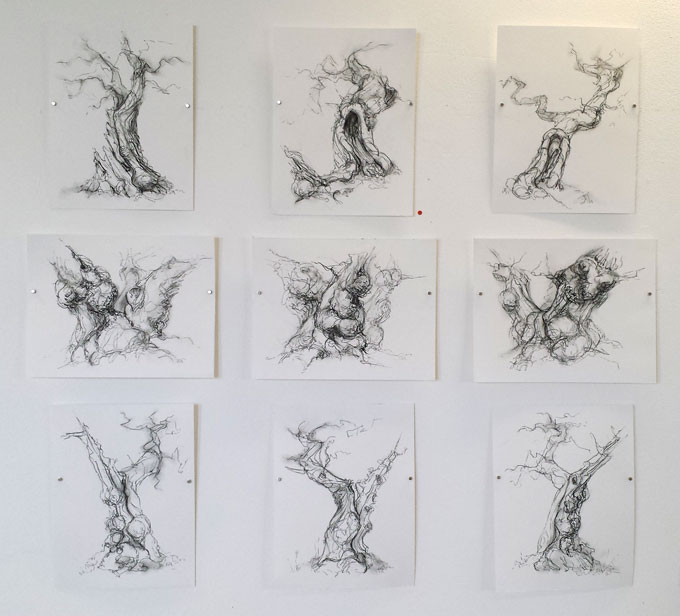
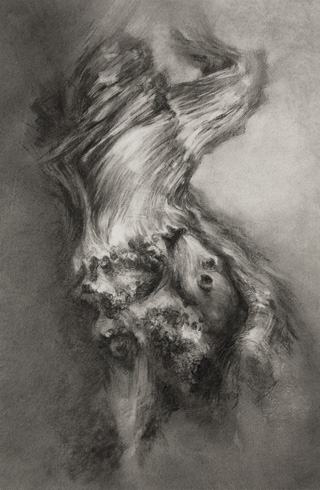
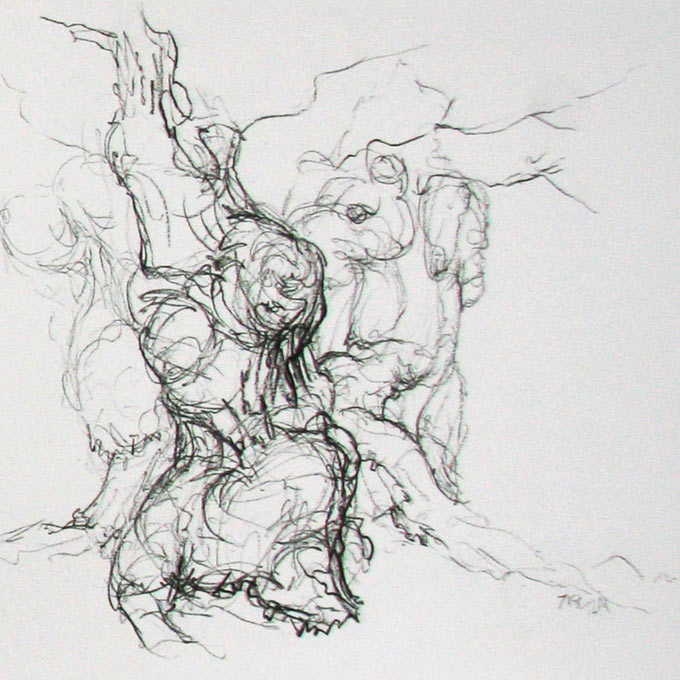
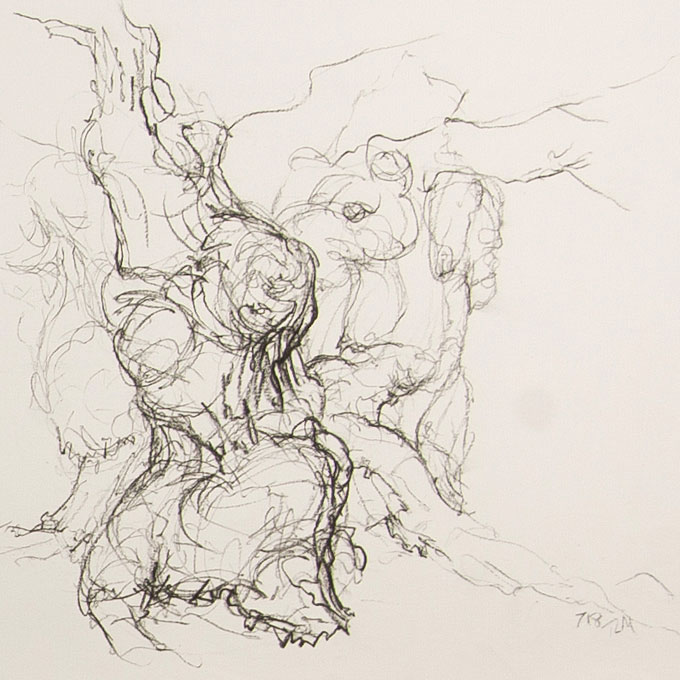
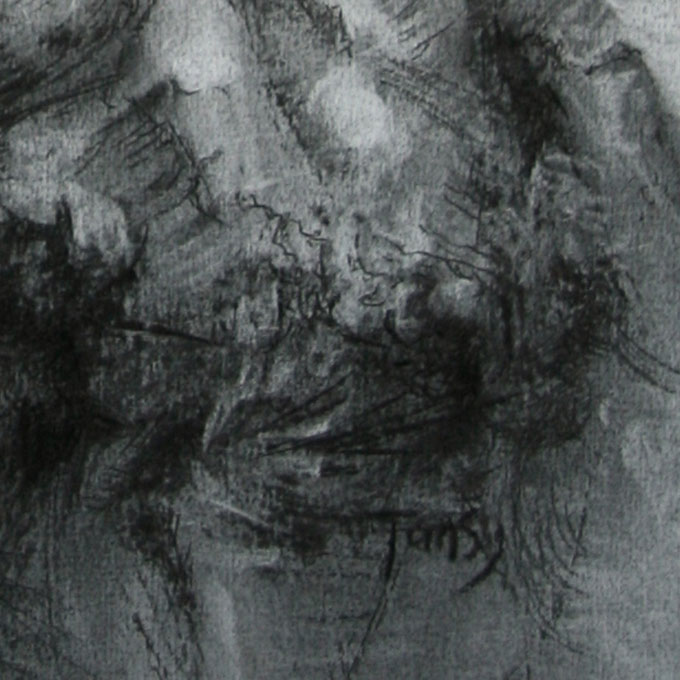
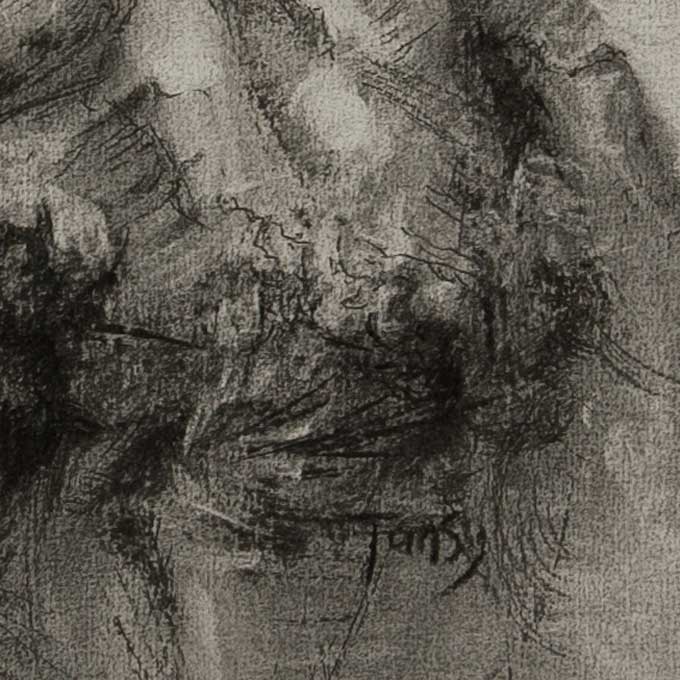
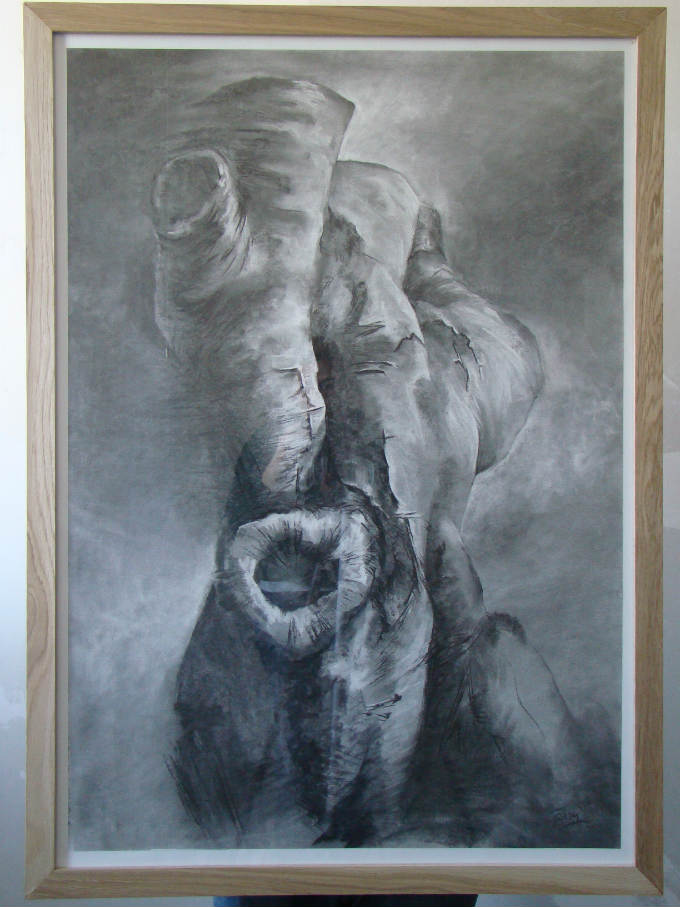
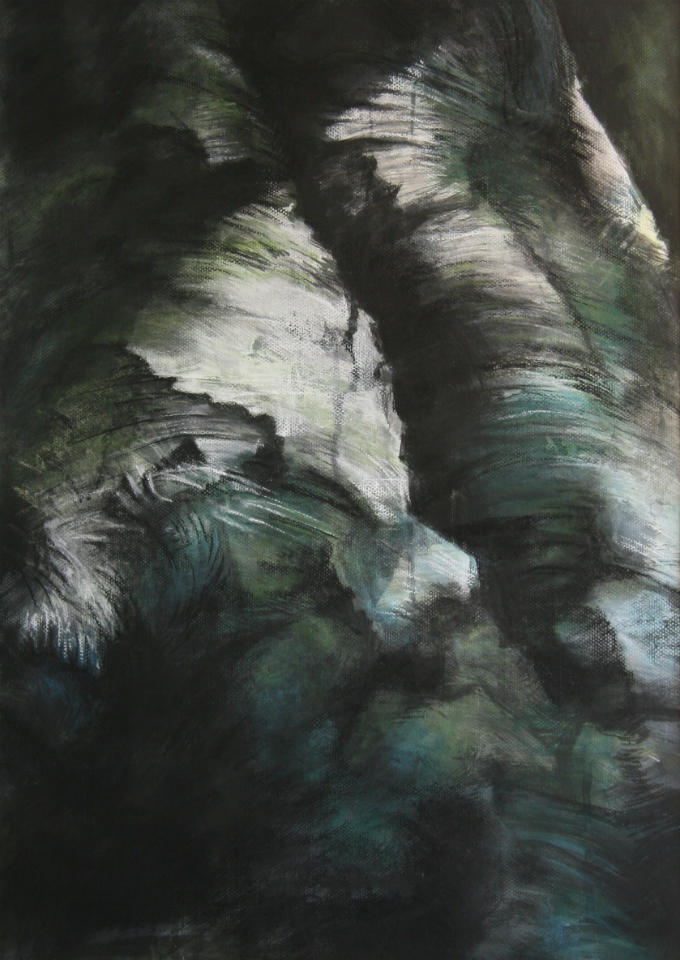
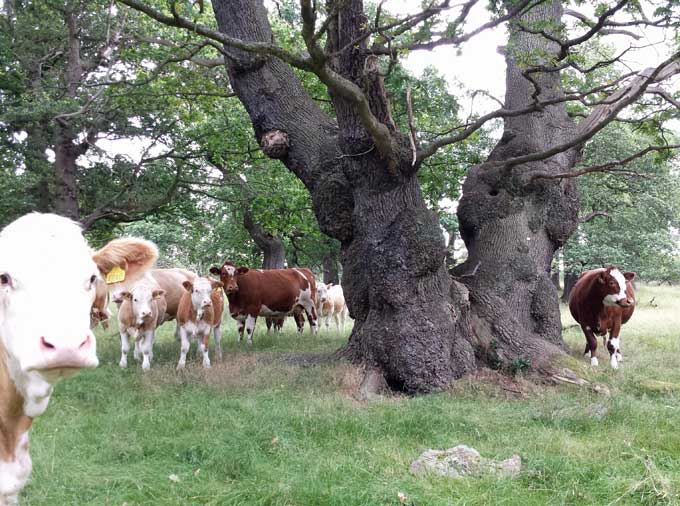
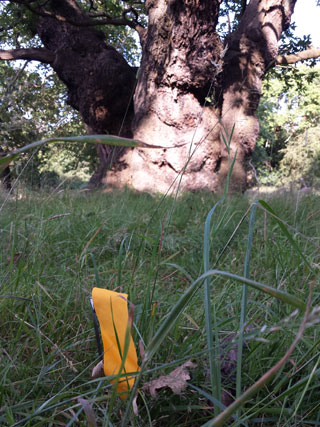
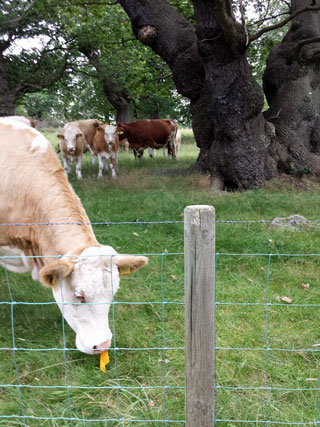
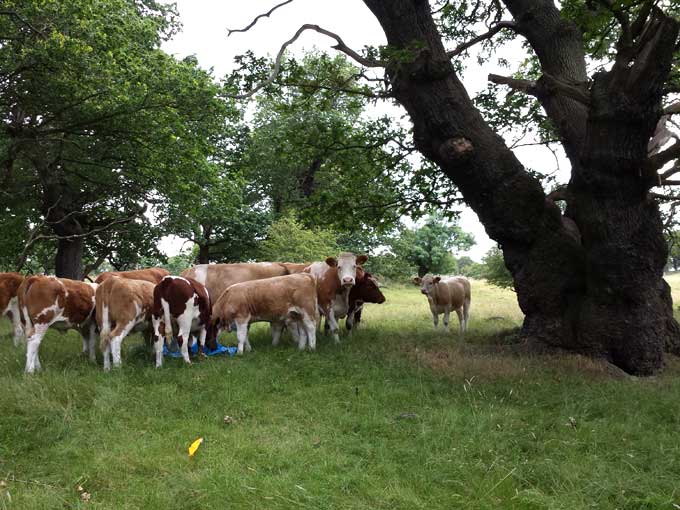
This is a form of tree is known as a ‘phoenix tree’ – at some time in its life on the Longshaw moors it has blown down but, because some of its root plate remains in contact with the ground, it has continued to grow from its new horizontal position.  It’s stable and apparently thriving, just in a new phase of life…

longshaw_phoenix_bw

share:

Hidden Beecraigs trees

beecraigs trees05

For an artist looking for characterful old trees this doesn’t look very promising does it? Clearfelled plantation is in itself a dramatic kind of landscape, but not what I’m hunting for. Gladly we have wonders of the internet like National Library of Scotland’s online historical maps and satellite imaging (I’ve recently discovered that Bing maps are a far better tool than Google) so I had an idea that there might be living remnants of the previous landscape somewhere here at Beecraigs Country Park.

beecraigs trees01

Surrounded by the plantation trees and densely shaded, I found a few old beeches just clinging on along old boundary ditches.

beecraigs trees02

They show up on satellite images as bright green shapes against the dark uniformity of the conifers and checking the shape’s location against old maps confirms that they are on a pre-existing boundary.

beecraigs trees03

I tested out my new water soluble graphite sticks while drawing in the rain/sleet – well it is February!

beecraigs trees04

A second visit on a much sunnier day revealed a wonderful line of wiggly beeches along a south facing bank.

beecraigs trees06

beecraigs trees09

This cluster was a real surprise – mountain bikers clearly use this extensively as it’s all lumps and bumps, being a former quarry area.

beecraigs trees07

So I found my characters after all, which means I not only have the satisfaction of a successful forage, but so many new trees to get to know through my drawing – expect to meet some of them at Howden Park Centre later this year…

beecraigs trees08


share:

Tree hunting in West Lothian

 calder wood 1

Having had a illness last year which incapacitated me for about 6 months (which I’m working up to blogging about sometime), I’m so happy to be able to get back to the woods this winter. So I started the year by making some plans to explore new locations through a series of mini-residencies – a sort of self-directed intense period of study, learning about the history of the landscape, making links with locally knowledgeable people and making as many on site drawings as I can.

calder wood 2

Since I have an exhibition at the Howden Park Centre in Livingston scheduled for the end of the year, it seemed natural to start in West Lothian. While the recent storms have been blowing outside, I’ve been indoors poring over old maps and current satellite images, looking for clues to more ancient landscapes and some likely places to look for old trees. I thought I knew West Lothian pretty well, having worked there on and off for the last 20 years, but Calder Wood is an exciting new discovery for me.

calder wood 3

It’s a plateau of ancient woodland bounded by the Murieston Water and the Linhouse Water, which both join the river Almond at Almondell. The river banks are steep and the trees mostly hide the surrounding housing, making it feel much more remote than it actually is.

calder wood 4

These are a few photos of the wonderful trees I found – impressive old beeches, gnarly sycamore, elderly birches, hazel coppice, twisty decaying sweet chestnut.

calder wood 5

I’m starting to learn my way around the woodland now, working out how all the little tracks fit together, where the clusters of old trees are and which are the best candidates for more prolonged sketching.

calder wood 6

Maps are marvellous for getting the structure of a new place into my head, but now I realise I need to start creating my own mental maps – these are the first of many days in Calder Wood…

calder wood 8


share:

Into the woods

fromthewood4

It’s officially Spring, though you wouldn’t know it today with the horizontal snow, and the race is on for me to get back into the woods for some decent drawing days before the leaves break through.

fromthewood1

I recently bought some Conté crayons and spent some time in the studio playing with them to see how I might use them in the woods. I was looking for some softness and delicacy to develop in my line drawings done directly from the tree. From a practical angle I was hoping that they would be the perfect combination of lovely smudginess when I need it and stability when I’m transporting the drawings across the fields.

fromthewood5

Paper on board, ready to draw some ancient oaks after a drop of coffee…

fromthewood3

fromthewood2

Happily, some of my newest Conté drawings made it out of the woods and into Time around trees last month…

fromthewood7

A selection of these drawings will be heading for the Buy Design Gallery when they’re framed and hopefully the wind will calm down enough for me to get a few more productive outdoor days soon.

share:

New resolution for artwork photos

My first resolution for 2015 – take better photos and keep better records of my work.  Sounds a bit boring but is definitely more do-able than some previous years’ promises, so I’m giving it a go.

I have friends who are photographers and they make amazing images with their cameras.  I’ve come to realise that photography will never be something I’ll excel in, probably because I really only take photographs to create a record or for reference material – the image I want to make and show is a drawn one so I don’t put in the time and effort necessary for great photos.  The technical aspects of photography don’t interest me either, all those f-stops, ISOs, numbers and letters that float in and out of my memory like bubbles which pop as soon as I try to hold them.

However, since it’s essential to have the best possible images of your art for submissions, marketing etc. I’ve always tried to do the best I can within my limited knowledge, but as my drawing has developed over the years it has become clear that my photography is not up to the job.  So I’ve taken some advice from a professional about how to photograph artwork and invested in some proper kit and I thought I’d share my learning process – professional photographers please no sniggering, I know I have a long way to go!

res-studio-lights

I already had a good second hand DSLR and tripod but my lighting was not up to standard, so I bought some proper lights and set everything up in the studio today to do some tests…

Dalkeith-reaching-oak-2   Dakeith-reaching-oak-2-new

before                                                                         after

The most tricky of my drawings to photograph are the line drawings done in the field – they are usually made on a long scroll of paper and this has presented a challenge when trying to create an even light across the whole work.  I’m pleased with the delicacy and detail I’ve got in today’s test compared to my previous attempt…

res-Dalkeith-crop-2014

before

res-dalkeith-crop-2015

after

Like someone who doesn’t realise they need new glasses until they get them, the before and after details below really show how much my previous photos were missing…

res-scone-crop-2014

before

res-scone-crop-2015

after

Just to be clear, I am definitely no expert and hope to learn a great deal more about photographing my artwork but, in case you are like me and value some clear instructions, here is a summary of the way I’ve set up:

  1. Find or create a light-tight space to take your photos. I got IKEA blackout blinds for the windows and a husband who likes DIY to put them up.  Any light leaking from doorways, through curtains and such could affect your images so eliminate it as far as possible.
  2. Get yourself a good camera within your budget and read the instructions – I have had my camera for 5 years and have only just forced myself to do this!
  3. Get a sturdy tripod for your camera.
  4. Buy or borrow a pair of soft-box studio photography lights.  I got mine from Photogeeks, they have 5 daylight bulbs and individual switches for each bulb so you can adjust the brightness.  One of the components was cracked on delivery but Photogeeks replaced it very quickly with no quibbles. This video helped me to work out how to build the things.
  5. Ideally use a linear polarising filter on your camera lens to reduce glare – this is particularly important if your work has a glossy surface.
  6. Get a ‘grey card’ to enable you to colour correct your photos.
  7. Prop or fix your work against a neutral background, ideally at a 10 degree angle.  I have a drawing board and shelf system I use for making my work which doubled up well for this job – an easel would do the same.
  8. Once the work is in position, place the lights at about 45 degrees to the work on either side and close enough to give an even light.
  9. Now the more technical bit – my camera was set to capture RAW images only, ISO 100, lens length around 50mm, white balance set to match the lighting, aperture F11, automatic shutter speed and auto focus on.
  10. Position the camera and tripod so that you get the work filling most of the shot, tilt the camera to the same angle as the work to avoid distortion.
  11. Take a photo which includes the grey card, then upload to whatever image processing software you use (I have Photoshop elements) and adjust the image to your liking. If you are photographing a number of similar works like I have lots in charcoal, clicking ‘Save new camera RAW defaults’ will mean that these adjustments apply to the next images you open – I’m hoping this will help to give some consistency to my charcoal photos – all greys are not the same.
  12. You can find further guidance on photographing artwork here via the wonderful Making a mark blog.

It’s been a promising start to this year’s first project – I’m a long way from ticking it on the list as ‘done’ but things are starting to look clearer at least.


share:

Words that guide me

Whilst it’s true to say that I spend most of my time as an artist thinking in images, it’s also the case that words have become central to my creative practice. 

I’ve always been a reader and enjoy a wide spectrum of writing, so I naturally sought out the wisdom of books to guide my drawing and feed my ideas.  But the problem is that this wisdom is cocooned in so much paper and my memory just isn’t up to the job of remembering the best bits and knitting them into something coherent that helps me.  I realised that I needed to see all these words and be constantly reminded of them, so I repurposed some old business cards and started copying out quotes.

guiding-words-2

Some of the best or most striking have ended up on my studio wall, along with photocopies and little sketches, in a sort of giant mind map that I refer to whenever I come to a pause in my work.  Some of them have sparked a new direction in a particular drawing, some an entire project, while others act as a sort of constant safety net to support me through the doubt and indecision that bubbles up whilst in the middle of making a drawing.  It’s perhaps a bit like having your favourite art school tutor always on hand to both encourage and criticise where needed.

On one of my internet wanderings I discovered that not only does Brian Eno make fantastic music, but in 1975 he created something called ‘Oblique strategies’ with Peter Schmidt.  They put together a set of cards with words and phrases intended to stimulate, change, redirect, challenge the creative process and overcome creative blocks.  Brilliant!

So, building on the ‘wise words on the wall’ concept, I shamelessly copied the concept and wrote my own cards…

guiding-words-1

Here are some of them, mixed in with quotes from books like Juliette Aristides’ Lessons in Classical Drawing, and Stapleton Kearns blog, which is packed full of cleverness.  When I’m starting a series of drawings, I’ll choose some cards which seem to be relevant and stick them up on the board so they are there, gently nagging me, while I work.  And not so gently if I drift off the task!

guiding-words-4

Their purpose is to point me in a direction if I get a bit lost, rather than specify exactly what I should be doing – that would be far too rigid and bossy.  I can honestly say they’ve worked really well so far.

Perhaps the wisest of wise words that I remember from my very early days at college are “expect to keep about 10% of what you do this year” – that most of what I make will be rubbish, some will be ok and only a very small proportion will be good. It was both a shocking and liberating thing to hear at the age of 18 and has stuck with me, so I was pleased to see it echoed in Austin Kleon‘s newest book ‘Show your work’.  He has lot’s of words to guide you if you are an artist, writer or any other creator and his pictures are spot on too…

guiding-words-3


share:

Turning points

The creative process can be marvellous and mysterious, frustrating and demoralising.  Occasionally something magic happens with a drawing and a work takes a whole new direction, one which was not planned but is very much welcomed.  These are the works I think of as the turning points in my progress through drawing – the ones which spark a series, or through which a new working method develops.  They act as landmarks showing me where I’ve come from and suggest routes forward too.

tp-Dalkeith-burred-oak

Dalkeith burred oak 1

This is the most recent turning point which I completed earlier this year.  Inspired by a dead oak which I found on my very first visit to Dalkeith oaks in 2005, photographed then subsequently ‘lost’ amongst the hundreds of trees there.  I’m usually pretty good at finding my way to the particular tree I’m looking for, but this one eluded me.  Thankfully I found it again this spring and I fell in love again with the barkless surface and its contorted burred forms.  There are six works in the series so far and more to come I think.

tp-Hopetoun-half-tree

Hopetoun half tree

A major leap forward occurred in 2009, when I was shocked to discover a favourite roadside beech had been beheaded, leaving the torso like trunk starkly exposed. Up to that point I had been wrestling with the problems of what to leave out when drawing trees – the complexity was overwhelming and details seemed to obscure the essence of the thing.  When I saw this devastated tree I realised that the chainsaw had revealed what I was searching for and inspired my ongoing torso series in charcoal.

tp-Tay-beech

Tay beech

A really old one, done at the end of a drawing course at ECA, around 2005.  I decided to try zooming in on the light and texture of the tree’s surface and just really enjoyed the mark-making aspect of the drawing.  I hadn’t picked up a soft pastel in years and it felt like quite a liberating piece of work at the time.

tp-craigie-1973-chestnut

Craigie chestnut 1973

It’s titled 1973 because of the date carved into the stump – a massive and somewhat incongruous chestnut by a path in an area of former quarrying.  I guessed that the date related to the time it was felled – there’s also a partial cut on the stump which might have been made at the same time.  It was such an odd sight and so sculptural that I decided to draw it ‘in the round’, to give the sense of walking around the tree.  After making initial sketches I developed a method of working on a scroll of rolled paper on a wide board, and returned with my new kit to make this drawing.  This 360 degree approach has continued to develop, the piece below being a more recent example.

The tree lives on incidentally, with young branches sprouting from the base, producing sweet chestnuts every autumn.

tp-Dalkeith-718-charcoal

Dalkeith oak 718

tp-crichton-shattered-beech-1

Crichton shattered beech

I had this image in my head and an urge to draw big, so cut myself a piece of paper 1m x 1.5m and got stuck in.  It’s really not that practical – it’s unframed and tricky to move around but I had a great time making it.  I felt as though I had room at last to do the tree justice.  One day, when I have plenty of gallery space to fill and ample funds for framing, I shall make more on this scale.

tp-philpstoun-ghost beech-1

Philpstoun ghost beech

“How dark can I go?” I wondered.  Here I began to push the amount of charcoal I could apply to the paper and the ways in which I removed it too.  Randomness was encouraged and responded to, the image allowed to emerge.  Something ghostly appeared on the paper and I liked it – it had a combination of drama and subtlety which has featured in all my later charcoals.

I think of drawing as my method of discovery and these are some of my landmarks so far, each turning point leading to new and unexpected territories.


share:

The hazards of drawing outdoors

dalkeith-looking-coos

It sounds idyllic €“ €œI€™m going out to the woods to draw today€ and the truth is that it really is, it€™s a very special thing to do.  If I didn€™t have those days alone with the trees there would be no art, since the place, the atmosphere, the wildlife, the weather all contribute to the eventual response I make on paper.  The sound of the buzzards above, a deer looking startled as it almost bumps into me, a crow flying out of a hole in an old oak at eye level, a strong breeze making the dead wood creak over my head, the intermittent rustle of a toad hopping through the grass €“ all these form part of the experience for me.

However, drawing outdoors can have its little excitements and challenges too.  There are the predictable things like rain and wind, cold and midges. And the bugs that insist on walking on my drawing and sometimes refuse to leave, sadly getting squashed as I roll it up.  Nettles can make summer drawing unpleasant. High winds mean dangerous conditions underneath old trees and I€™m cautious on those kind of days.

On my last outdoor drawing trip I encountered some very inquisitive cattle which threatened my carefully selected drawing spot.  It seems quite funny to think of a grown woman escaping from cows, but they can do you some serious damage, especially if they have their calves to protect.

dalkeith-718    dalkeith-bug-view

I€™d set out to do a full 360 drawing of one of the hugely impressive Dalkeith oaks, which will be on show at €˜Time around trees€™ at the Meffan Gallery soon.  I€™d come prepared with little tent peg flags to mark my eight viewpoints, a tarp to sit on, my board, and a three and a half metre scroll of my favourite Canson paper.  This was going to take most of the day so I took my time deciding on views, thinking about the movement of the sun through the day and doing the initial sketches.  Four drawings in and I was happy with my progress until I noticed the herd moving towards me. The calves were at the €˜bolshy teenager€™ stage of their lives and clearly up for some mischief, so I rolled up the drawing carefully, packed my bag and climbed over the fence. 

flag-marker    dalkeith-nosey-coo

They had a good look round the tree and over at me, then settled in for some leisurely grazing, so I went for a walk and eventually tagged along with a group being given a tour by the woodland manager.  After a pleasant break I returned to my now deserted tree and resumed the big drawing.

An hour or so later they were back to play, but this time moved much faster and more determinedly so I only had time to get the drawing and pencils to safety and had to leave the tarp and board.  

dalkeith-herd

You€™re supposed to put your arms out wide and shout to keep them away but they weren€™t having any of that €“ no amount of arm waving was going to put them off their fun. The youngsters had a great time tossing the tarp around and slobbering all over my board, while their mothers rubbed themselves against the tree and had a good sniff around.  I realised from the other side of the fence that I was witnessing an age old scene of traditional wood pasture, and wondered how many woodsmen had been held up from their work by marauding cattle in the past!

dalkeith-two-coos

I ended up hiding behind a holly until they got bored and moved on.  Ok, I know it’s hardly Olly Suzi and wild dogs, but my tent peg flags were soggy and trampled and my board and tarp unpleasantly slimy. Still, I was happy that my drawing remained intact and I managed to finish all eight views with the occasional glance over my shoulder to check I was alone.  I took my longest ever drawing back to the studio, cleaned off the bug bodies and trimmed it ready for the Meffan show next month.  I’m hoping to be able to hang it so it kind of envelops you as you view it – so I hope you can come and see it for yourself now you know its story.

dalkeith-scroll

share:

Adventures in photopolymer printmaking

In November last year I did a weekend course in photopolymer etching at Edinburgh Printmakers and now I’m properly hooked!

inking-up

I’ve been back regularly to practise, putting my new knowledge to the test and diligently checking the notes every time I move through the process.  I’ve loved the whole atmosphere of the place – it manages to be both highly professional and very friendly, with a sort of background hum of intense but enjoyable creative activity.  The other printmakers I’ve met are generous with their knowledge whilst being humble about the challenges of being a printmaker.  I’ve also really enjoyed the physicality of the processes in the efficiently designed workshop – reminds me of my days at Manchester Polytechnic in the ceramic studio or the metal workshop, the smell of wet and dry, oiled machinery and funny coloured chemicals.

I know it’s early days in my learning, but I set myself the goal of having some prints to show in my next exhibition, ‘Figured wood’, in April, so I’ve been working like a mad thing to find what works for my images – you’ll need to visit the exhibition to see whether I’ve succeeded, but here’s a few process pictures to get you started…

bart

‘Bart’ the historic printing press

printing

Lined up and ready to print

prints-drying

Proofs fresh off the press!

See here for more information about this printmaking technique and that course I attended.

share:

A long time in the planning

meffan-model-1

It may be only a 50th of the actual size but this is the best planning tool I’ve used yet!

Having two solo shows booked for 2014, I thought I really needed to make myself a plan to guide my work and preparations.  However, the two dimensional methods I’d used before just weren’t up to the job, particularly for the Meffan Gallery show which has a flexible panel system for hanging work.  So, it may have been my three-dimensional design training or perhaps my childhood love of doll’s houses that prompted me to find some foamboard offcuts, some dressmaking pins and a calculator to translate a 2D floor plan into a proper 3D model.  I can’t lie – it was fun and I did spend longer than strictly necessary viewing it from all angles at eye level. Even made a wee person too.

Once I’d printed images of the potential works to scale it was a doddle to hang and rehang, play one piece off against another and generally visualise the exhibition as a whole. It was also obvious where the gaps might be and where I should focus my efforts with new work – it’s so easy to get carried away with exciting new experiments but I also have to make sure I have work to put on these walls.

meffan-model-2

There’s no substitute for seeing the actual exhibition space if it’s possible, so I spent an afternoon at Dawyck Botanic Garden, measuring the gallery and meeting the lovely staff.  They’d just finished hanging the current show, Remarkable Trees, which is on until the end of March.  My show ‘Figured wood’ follows it, opening on the 5th April.

dawyk-6

Now I have two little scale models to reassure me when I think I don’t have enough work, don’t know what I’m going to do, think it’ll all go wrong – those creative insecurities don’t ever go away but some practical planning really helps me to ignore them!

share: