My first resolution for 2015 – take better photos and keep better records of my work. Sounds a bit boring but is definitely more do-able than some previous years’ promises, so I’m giving it a go.
I have friends who are photographers and they make amazing images with their cameras. I’ve come to realise that photography will never be something I’ll excel in, probably because I really only take photographs to create a record or for reference material – the image I want to make and show is a drawn one so I don’t put in the time and effort necessary for great photos. The technical aspects of photography don’t interest me either, all those f-stops, ISOs, numbers and letters that float in and out of my memory like bubbles which pop as soon as I try to hold them.
However, since it’s essential to have the best possible images of your art for submissions, marketing etc. I’ve always tried to do the best I can within my limited knowledge, but as my drawing has developed over the years it has become clear that my photography is not up to the job. So I’ve taken some advice from a professional about how to photograph artwork and invested in some proper kit and I thought I’d share my learning process – professional photographers please no sniggering, I know I have a long way to go!
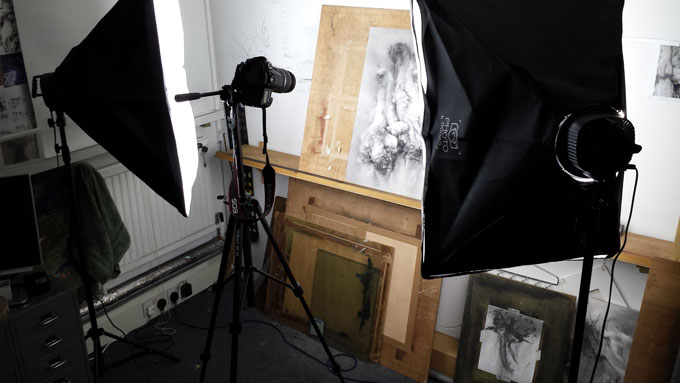
I already had a good second hand DSLR and tripod but my lighting was not up to standard, so I bought some proper lights and set everything up in the studio today to do some tests…

before after
The most tricky of my drawings to photograph are the line drawings done in the field – they are usually made on a long scroll of paper and this has presented a challenge when trying to create an even light across the whole work. I’m pleased with the delicacy and detail I’ve got in today’s test compared to my previous attempt…
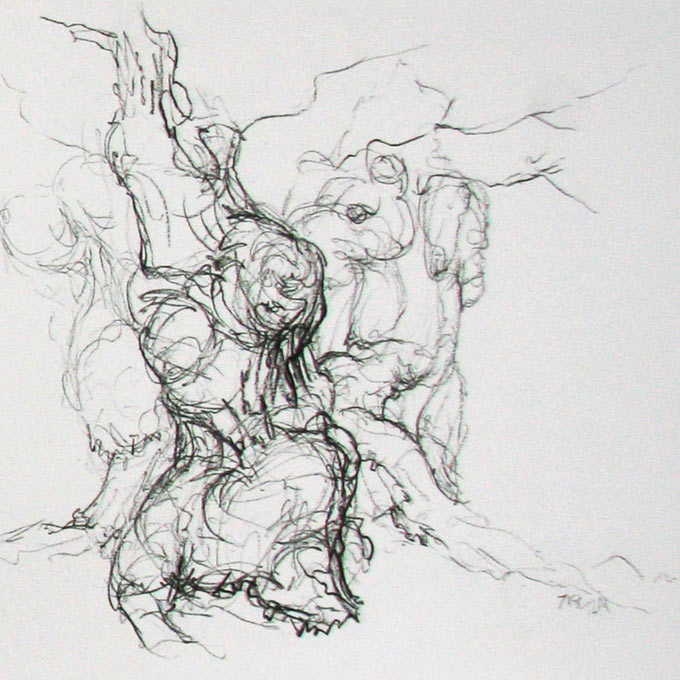
before
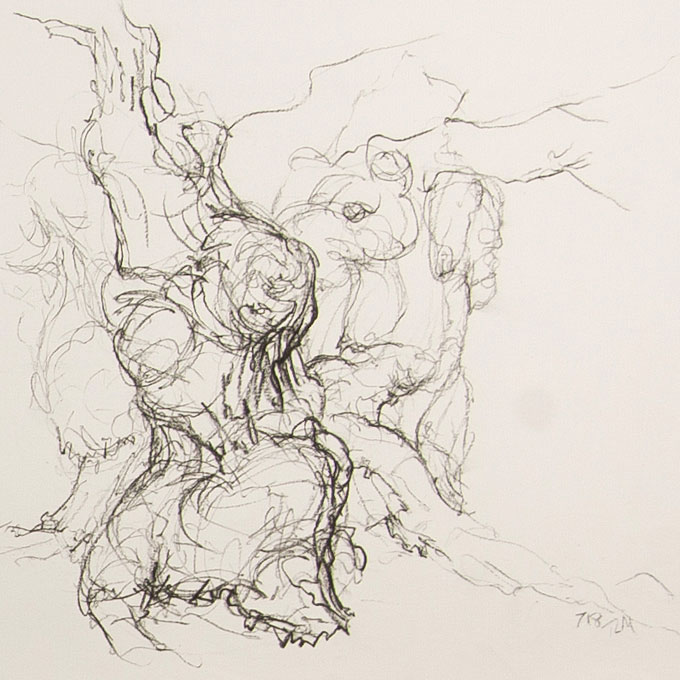
after
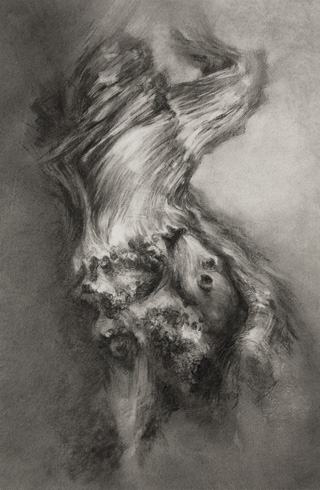
Like someone who doesn’t realise they need new glasses until they get them, the before and after details below really show how much my previous photos were missing…
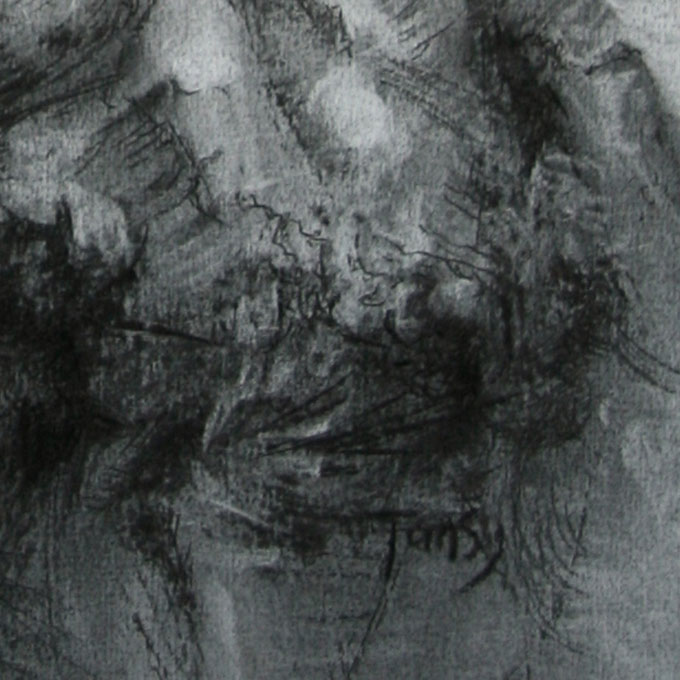
before
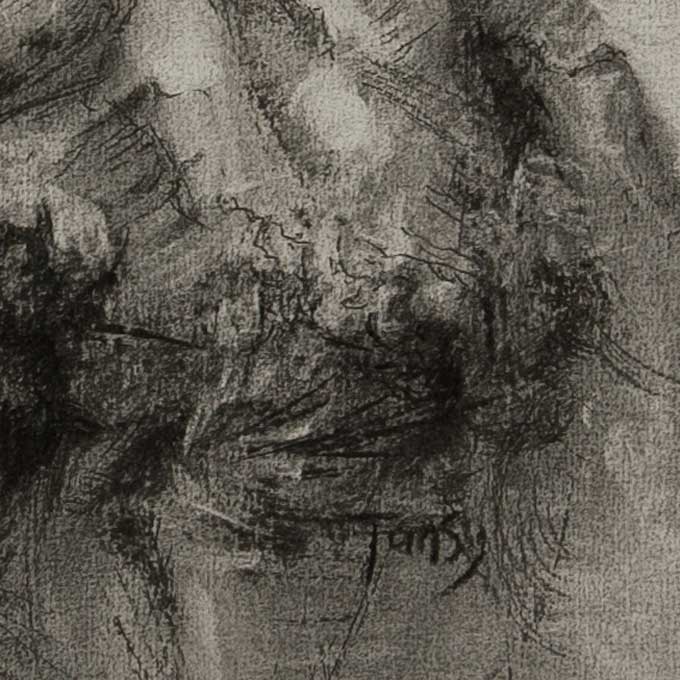
after
Just to be clear, I am definitely no expert and hope to learn a great deal more about photographing my artwork but, in case you are like me and value some clear instructions, here is a summary of the way I’ve set up:
- Find or create a light-tight space to take your photos. I got IKEA blackout blinds for the windows and a husband who likes DIY to put them up. Any light leaking from doorways, through curtains and such could affect your images so eliminate it as far as possible.
- Get yourself a good camera within your budget and read the instructions – I have had my camera for 5 years and have only just forced myself to do this!
- Get a sturdy tripod for your camera.
- Buy or borrow a pair of soft-box studio photography lights. I got mine from Photogeeks, they have 5 daylight bulbs and individual switches for each bulb so you can adjust the brightness. One of the components was cracked on delivery but Photogeeks replaced it very quickly with no quibbles. This video helped me to work out how to build the things.
- Ideally use a linear polarising filter on your camera lens to reduce glare – this is particularly important if your work has a glossy surface.
- Get a ‘grey card’ to enable you to colour correct your photos.
- Prop or fix your work against a neutral background, ideally at a 10 degree angle. I have a drawing board and shelf system I use for making my work which doubled up well for this job – an easel would do the same.
- Once the work is in position, place the lights at about 45 degrees to the work on either side and close enough to give an even light.
- Now the more technical bit – my camera was set to capture RAW images only, ISO 100, lens length around 50mm, white balance set to match the lighting, aperture F11, automatic shutter speed and auto focus on.
- Position the camera and tripod so that you get the work filling most of the shot, tilt the camera to the same angle as the work to avoid distortion.
- Take a photo which includes the grey card, then upload to whatever image processing software you use (I have Photoshop elements) and adjust the image to your liking. If you are photographing a number of similar works like I have lots in charcoal, clicking ‘Save new camera RAW defaults’ will mean that these adjustments apply to the next images you open – I’m hoping this will help to give some consistency to my charcoal photos – all greys are not the same.
- You can find further guidance on photographing artwork here via the wonderful Making a mark blog.
It’s been a promising start to this year’s first project – I’m a long way from ticking it on the list as ‘done’ but things are starting to look clearer at least.